The practical answer
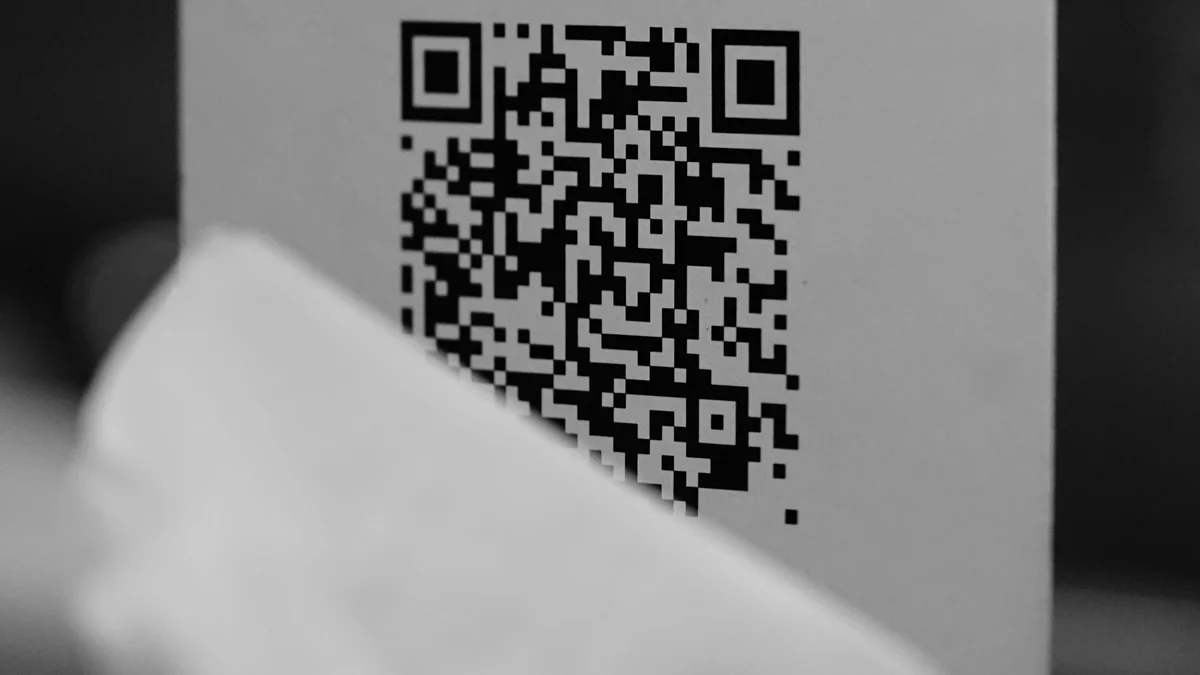
A standard QR Code needs a clear quiet zone at least four modules wide on every side. A module is one small square in the code. KitNelo’s current basic generator downloads a 600×600 PNG with a two-module margin, so a print layout needs additional clear space. The preview’s decorative frame does not establish compliance.
Identify the symbol, image and layout boundaries
DENSO WAVE’s code-area guidance specifies four modules on each side. That does not mean four pixels. As a module becomes larger, the required clear space becomes larger too. Keep text, patterns and crop marks out of that area.
Of the three boundaries, the symbol encloses the encoded square pattern; the image encloses the downloaded pixels; the layout can add further space around that image. Browser padding changes only the web presentation. It does not rewrite the file.
| Where you see it | What owns it | What to inspect |
|---|---|---|
| White pixels inside the PNG | Downloaded image | Open the file independently |
| Card frame and shadow | Browser styling | Do not count these as PNG pixels |
| Extra white area in a layout | Final print design | Check that export and cropping retain it |
Calculate the layout from the module grid
This is an authored size exercise, not a claim that every payload uses 29 modules. Suppose the symbol is 29×29 modules and the design uses 6 pixels per module. The symbol itself occupies 174×174 pixels. Four modules require24 pixels on each side, giving a 222×222-pixel square.
An existing two-module margin would contribute12 pixels per side on that same ideal grid, leaving another 12 to add. Do not apply that12-pixel figure directly to an arbitrary600-pixel download: its module count and scale may differ.
Keep symbol size separate from the outer frame
29 × 6 = 174 px; place that square directly against a patterned background.
(29 + 4 + 4) × 6 = 222 px; reserve24 clear pixels on every side.
Move the downloaded file into the final design
Enter the final address in the basic QR generator, generate it and download its PNG. Check spelling and destination first, then reopen the file to inspect pixels and its internal border. The current basic interface has no module-margin control; there is no four-module switch to select.
Place the PNG in a plain white region in your layout software and add the required clear space. Disable automatic edge trimming and fill-to-crop behavior. Keep it square. Preserve crisp, even module edges instead of repeatedly resizing and saving a textured JPEG.
Export the final poster or PDF and reopen that exported deliverable. As in the publishing image-pack checks, assess what the reader receives, not only the editor’s preview.
- Record the final address and the intended module size.
- Download and reopen the PNG.
- Complete the clear region on all four sides.
- Export the deliverable and make an actual-size print proof.
A successful scan is useful evidence, not a print guarantee
An editorial acceptance plan should test a real print at the intended distance and lighting, using different devices where available. Check the complete decoded destination. This article does not report a phone or printer test or promise a minimum size in centimeters. Gloss, ink spread, payload length and camera conditions can change results.
If the code will not fit, consider whether the content can legitimately be shortened, then allocate more space. Removing the quiet zone is not a sound way to make it fit. The pixel and PPI print exercise helps convert to physical dimensions, but does not replace scanning the proof.
Keep five checks with the handoff
- The final destination matches the intended purpose.
- Clear space is calculated in modules and survives export.
- The code is square, uncropped and unobstructed.
- The inspected object is the final PDF, image or printed proof.
- Record devices, distance and results; leave unperformed tests explicitly untested.
Common questions
Can a higher error-correction level replace the border?
Do not treat error correction as permission to remove the quiet zone. Meet the structural requirement first, then test the intended setting. One successful scan does not validate every size.
Further reading & sources
Put the guide into practice
Open the relevant tool, preview the result and check your exported file.