The practical answer
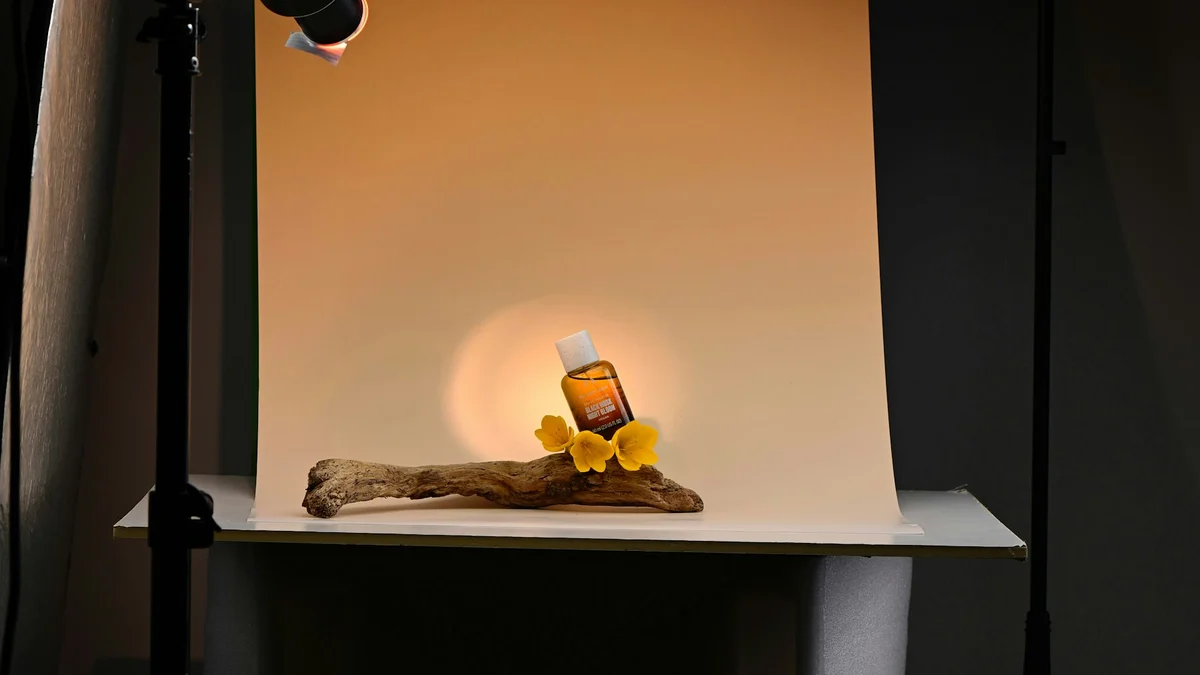
Review the original and the exported image separately. Inspect the interior background, product edges and composition, then compare dimensions and filenames with the manifest. Adding a white canvas around an opaque image does not remove its background. Local inspection does not establish Amazon approval.
What does the percentage actually measure?
The current checker resizes an image onto a 100×100 sampling canvas and counts fully opaque RGB 255/255/255 pixels in four corner regions. It also records dimensions and transparency found in the sample. It does not recognize every background region, detect all text or determine the actual product outline.
Amazon’s product-photography guidance discusses white backgrounds, clear product photos and checking applicable image requirements. Treat the local measurements as evidence about their specific samples. A small product, blurry detail or a colored interior background can remain outside that evidence.
Three separate inspection targets
Corners
A percentage describes sampled positions, not the whole background.
Product
Review genuine appearance, intact edges, detail and actual framing.
Delivery
Inspect the final JPG, its dimensions and matching manifest entry.
A complete white-corner, gray-center example
Our editorial fixture is an opaque 1200×1200 PNG: a white outer area, a gray central rectangle and a blue fictional product shape inside it. It contains no real product or trademark. All sampled corners can be white while the interior is visibly gray. The expected lesson is that a corner measurement cannot detect this central problem.
Export it at 1600×1600 with background removal off. The main-image function places the image onto a white canvas and scales its nontransparent bounds. Because this input is opaque throughout, the gray rectangle remains part of those bounds. More white around the outside is not evidence that the source background was removed.
A white border is not background removal
Input: white corners, gray center, blue fictional subject
Export without cutout: added white canvas, retained gray center
Compare input and output in the tool
- Open Amazon Images & content, select Main image check & repair and import licensed JPG, PNG or WebP files. The fictional image example is for learning the workflow; replace it with real photos for delivery.
- Choose a square output of 1600, 2000 or 2400 pixels. Confirm facts and image rights before running. For the first inspection, leave background removal off so you can identify the operation performed.
- Compare original and output audit rows. Enlarge the preview and inspect interior backgrounds, small edges and actual product framing, rather than relying on the white-corner value.
- If removal is needed, consider enabling it and regenerate. Review reflective materials, transparent objects and complex edges individually. First use downloads a model; successful execution does not prove a correct cutout.
- Download the asset ZIP. Open each JPG and manifest.json, matching filenames with sourceAudits, outputs and the size/cutout settings. Correct the source or settings and generate a new package when needed.
Choose a remedy from the observed failure
For retained backgrounds, check source transparency and the cutout. If the subject was small inside an opaque canvas, enlarging that canvas does not automatically improve its framing. More output pixels also cannot restore absent photographic detail. Keep the original photograph rather than repeatedly editing only an exported copy.
For halos after removal, use the transparent-image edge checks against light and dark backgrounds. For upload failures, follow the pixel and aspect-ratio checks before repeatedly reducing file size.
| Observation | Inspect first | Next action |
|---|---|---|
| White corners, gray center | Source opacity across the whole image | Handle the source background and review the new edges. |
| Large canvas, small product | Actual subject framing and bounds | Use a factual crop or a new photograph. |
| Enough pixels, blurry details | Original photographic detail | Return to the source; upscaling is not restored detail. |
| Local checks pass, platform rejects | Current marketplace, category and content rules | Inspect platform feedback separately. |
Retain a traceable delivery record
The image tool accepts up to 30 JPG, PNG or WebP files, 30 MB each and 100 MB combined, with 24 million pixels per image. Images with a long edge above 2400 pixels are reduced for processing, while source audit dimensions retain the original values. Do not assume all original pixels survive the processing step.
Processing is local; the first cutout downloads a model. Outputs are JPGs and do not retain transparency. Project assets or drafts can remain in the browser. Preserve downloaded versions under your team’s process. KitNelo prepares assets and does not upload or publish Amazon images.
Before uploading in Seller Central
- Review genuine product details, framing and the entire background.
- Compare source and output without confusing a border with a removed background.
- Match ZIP filenames and dimensions with manifest.json.
- Check current marketplace/category requirements and inspect platform processing afterward.
Common questions
Why can a 100% value coexist with gray background?
The checker samples corners. Gray interior regions may be outside those samples, and a white canvas does not delete an opaque source background.
Will a 2400-pixel export restore sharpness?
Output dimensions and source detail are separate. Upscaling a blurry photograph cannot establish that the missing details have been restored.
Does the asset ZIP publish a main image?
It contains images and a manifest, without platform publication. Inspect the assets, upload under current requirements and check processing feedback.
Further reading & sources
Put the guide into practice
Open the relevant tool, preview the result and check your exported file.